06193-ZW1-B03 ホンダ純正 ポンプキット、インペラー JP店
(税込) 送料込み
商品の説明
商品情報
ホンダ純正 ポンプキット、インペラー
6864円06193-ZW1-B03 ホンダ純正 ポンプキット、インペラー JP店車、バイク、自転車バイクエンジンオイル トヨタ キャッスル ディーゼルオイル DL-1 0W-30 20
06193-ZW1-B03
06193-ZW1-B03
ヤフー JP店楽天市場】ホンダ純正 ポンプキット、インペラー 06193-ZW1-B03 JP店
ホンダ純正 ポンプキット、インペラー 06193-ZW1-B03 JP店 1着でも
ホンダ純正 ポンプキット、インペラー 06193-ZW1-B03 JP店 高級品市場
06193-ZW1-B03 ホンダ純正 ポンプキット、インペラー |ヒロチー商事
ホンダ純正 ポンプキット、インペラー 06193-ZW1-B03 JP店 1着でも
ポンプキット HONDA(ホンダ)|ネオネットマリン通販
ホンダ純正 ポンプキット、インペラー 06193-ZW1-B03 JP店 高級品市場
ポンプキット HONDA(ホンダ)|ネオネットマリン通販
ホンダ純正 ポンプキット、インペラー 06193-ZW1-B03 JP店 高級品市場
06193-ZV5-020 ウォーターポンプ インペラ サービス キット ホンダ
エンジンオイル トヨタ キャッスル ディーゼルオイル DL-1 0W-30 20
06193-ZW1-B03 ホンダ純正 ポンプキット、インペラー |ヒロチー商事
06193-ZV5-020 ウォーターポンプ インペラ サービス キット ホンダ
06193-ZW1-B03 ホンダ純正 ポンプキット、インペラー |ヒロチー商事
☆ねじ込み管継手 鋼管製 白 長ニップル 10A (3 8)×150L 両ねじ
☆GK-844 プロテクトウインドプルーフレザーグローブHG レザー 秋冬春
Honda 06193-ZY1-010 Pump Kit Impeller
韓国1歳のお誕生日用72〜73点 レンタル用品 セルフレンタルセット
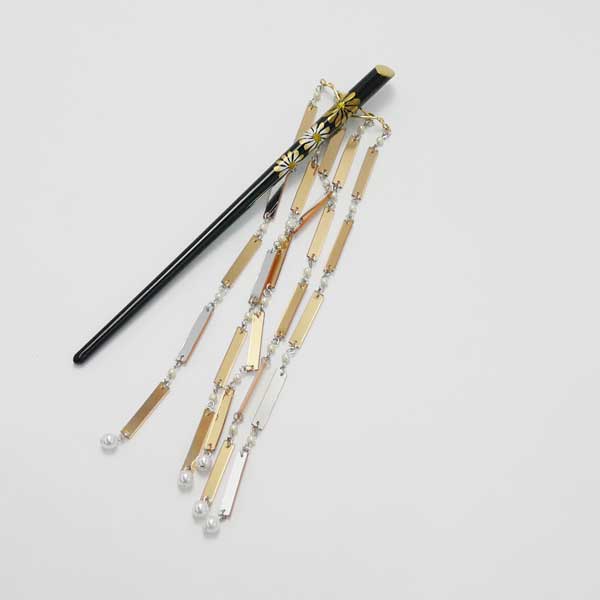
黒足蒔絵柄下がり簪 五段びら五連下がり
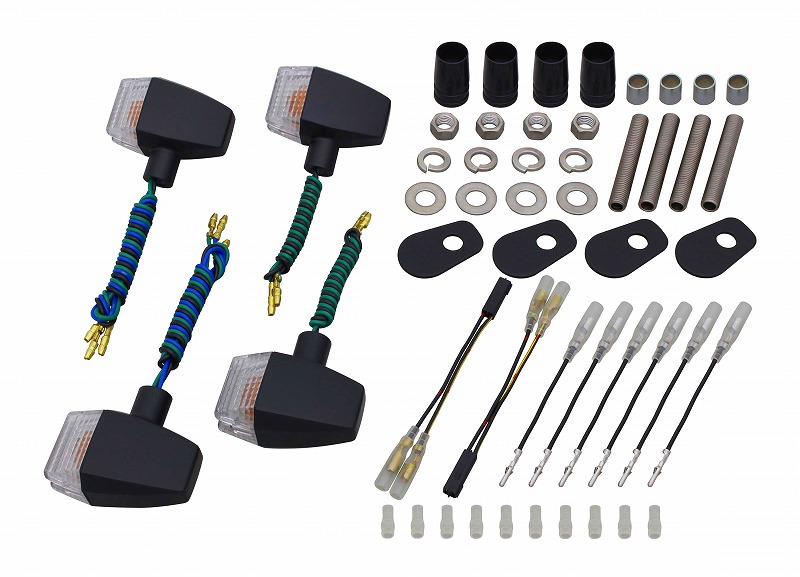
ZRX1200R(01〜03年) ボルトオンウインカーキット クラシカルスリム
メディコアリリーフ PRO レギュラーサイズ・ミニサイズ (グレー) ・PRO
ホンダ 純正 ゼスト 《 JE1 》 フューエルポンプ 17708-SFC-013
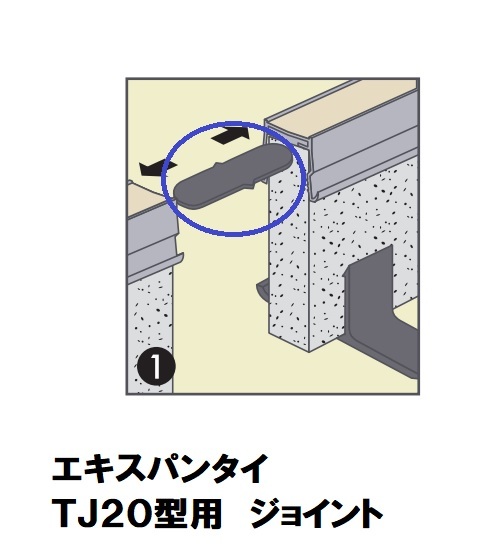
株)タイセイ エキスパンタイ TJ20型用 ジョイント
フレームパーツ ゴールド 丸型 1.2cm 10個 レジンクラフト 型 枠
06193-ZV5-020 ウォーターポンプ インペラ サービス キット ホンダ
エンジンオイル トヨタ キャッスル ディーゼルオイル DL-1 0W-30 20
予約》SAMBA OG W:スニーカー
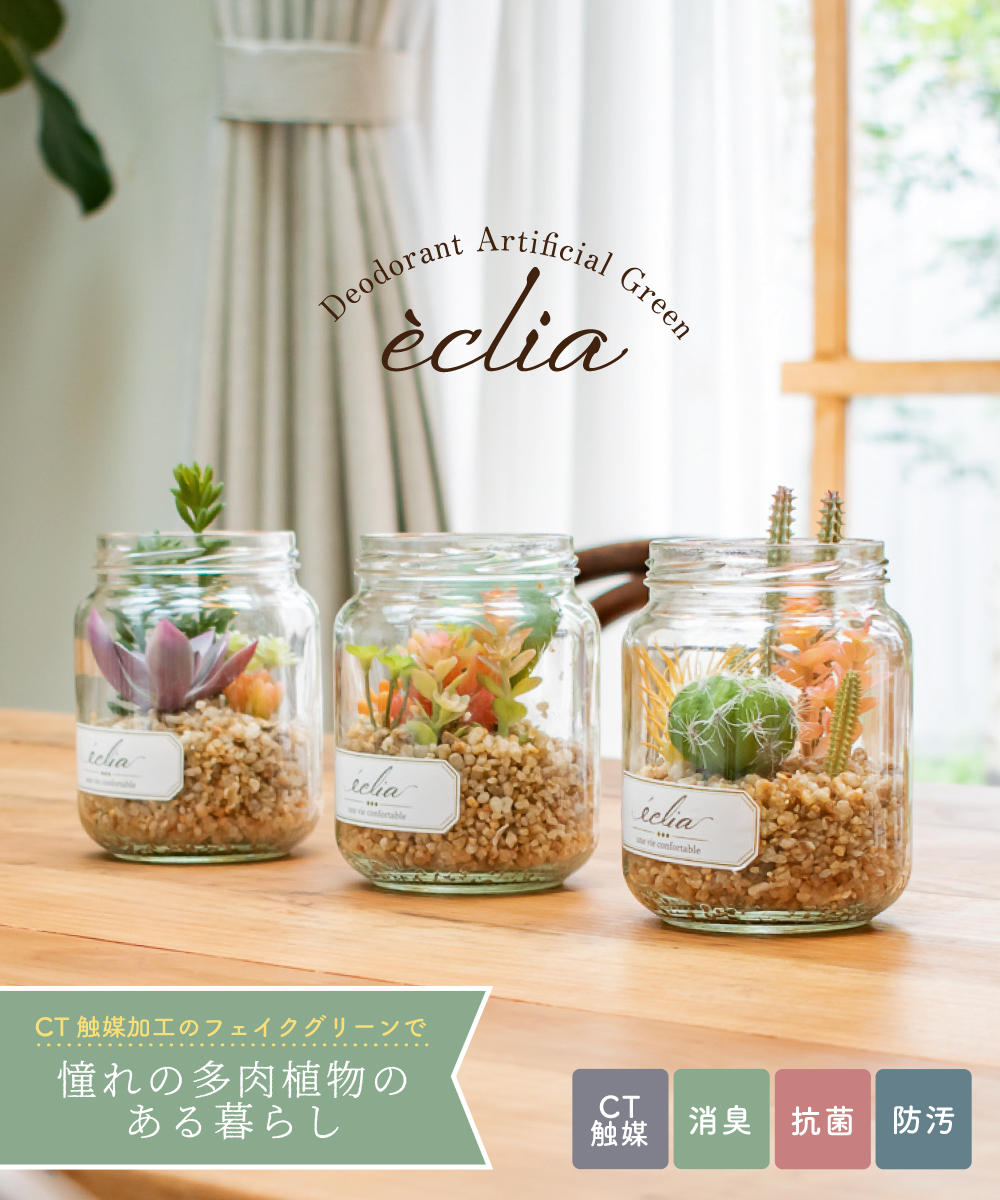
フェイクグリーン おしゃれ 寄せ植え サボテン コケ 多肉植物 リビング
06193-ZV5-020 ウォーターポンプ インペラ サービス キット ホンダ
E804 110 80B19E805 150 70B17
デイトナ ハイパフォーマンスバッテリー DYTX14HL-BS DAYTONA ハーレー
黒足蒔絵柄下がり簪 五段びら五連下がり
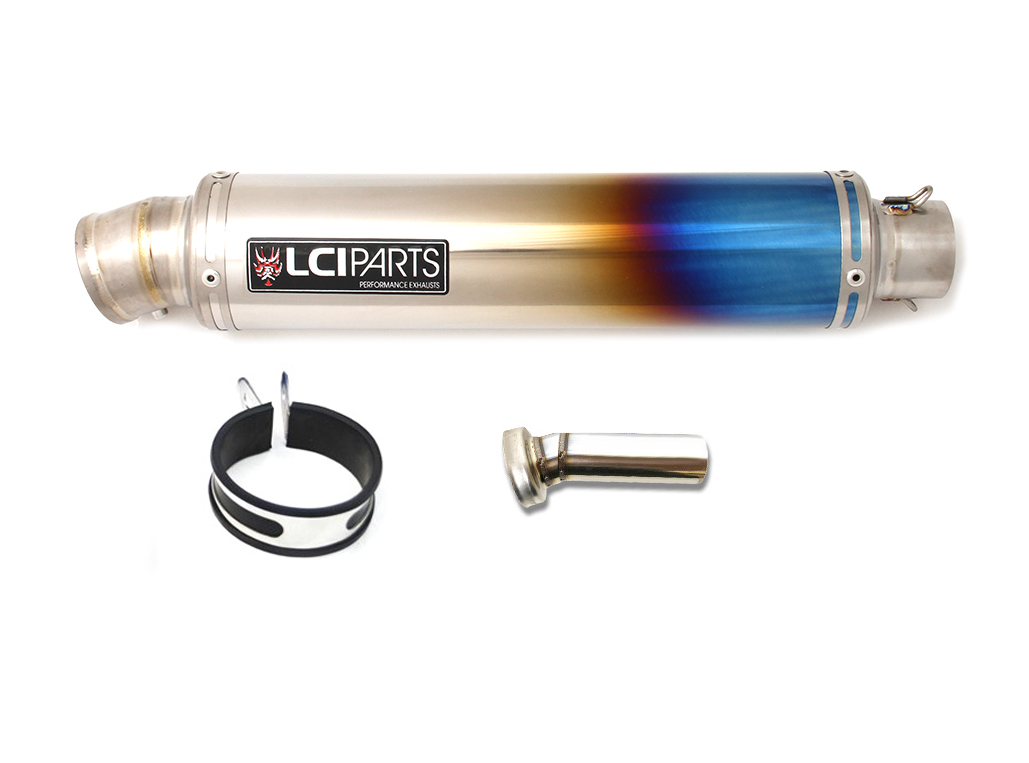
汎用 LCIPARTS LCI ラウンドフルチタンマフラー 差込径60.5mm
黒足蒔絵柄下がり簪 五段びら五連下がり
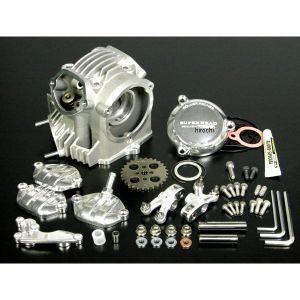
メーカー在庫あり】 12331-035-000 ホンダ純正 R シリンダーヘッド
韓国1歳のお誕生日用72〜73点 レンタル用品 セルフレンタルセット
フレームパーツ ゴールド 丸型 1.2cm 10個 レジンクラフト 型 枠
☆2本セット☆格付け payd'oc バロン マキシム メルロ お買い得 750ml
Amazon.com: Honda 06193-ZY1-010 Pump Kit Impeller : Automotive
ダイワ アジングロッド 月下美人 メバル 76L-T [2020年モデル]


![ダイワ アジングロッド 月下美人 メバル 76L-T [2020年モデル]](https://m.media-amazon.com/images/I/31M7FA3LEHL._AC_UF1000,1000_QL80_.jpg)
商品の情報
メルカリ安心への取り組み
お金は事務局に支払われ、評価後に振り込まれます
出品者
スピード発送
この出品者は平均24時間以内に発送しています